
A4, 4×6 & Joint Photo Print Guide
Photo Print Studio ke saare 6 tools samjhein: Remove BG, A4 Full Photo, 4×6 Photo, 4×6 on A4, Notary Photo aur Joint Photo. Neeche har tool ka separate detailed guide aur screenshot diya gaya hai.
Official tool URL: akprinthub.com/en/service/a4-photo-print
Which photo-print tool should I open?
Transparent cutout ke liye Remove BG; ek large portrait ke liye A4 Full Photo; exact single 4×6 print ke liye 4×6 Photo; nine smaller copies ke liye 4×6 on A4; requested custom dimensions ke liye Notary Photo; two people ke liye Joint Photo.
Photo Print Studio ke saare 6 guides
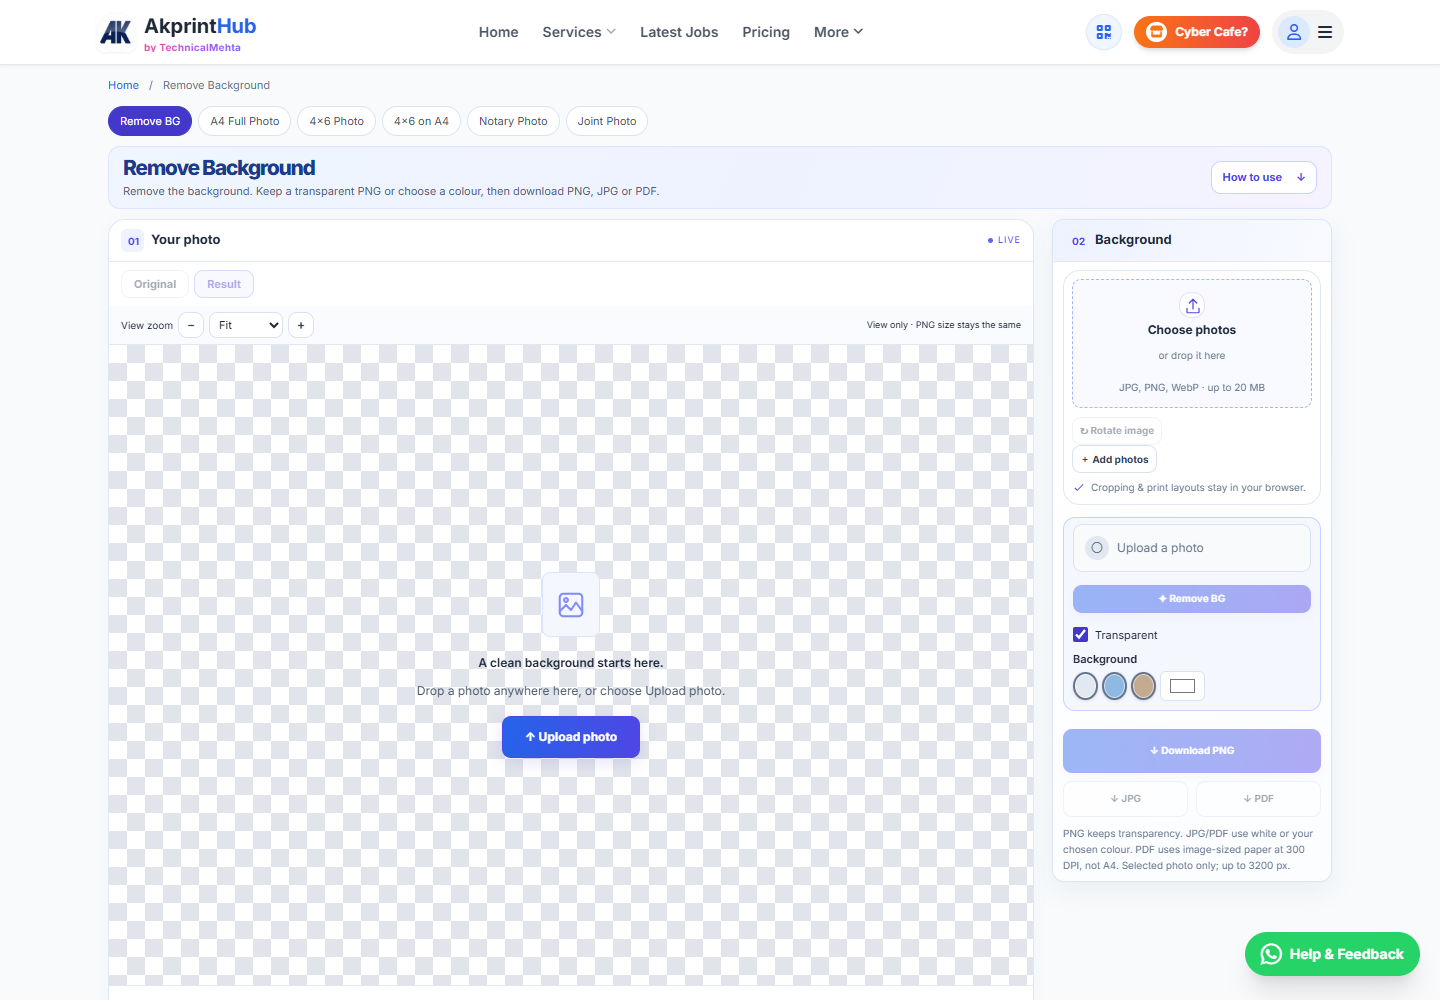 Remove BackgroundSteps, settings aur screenshots →
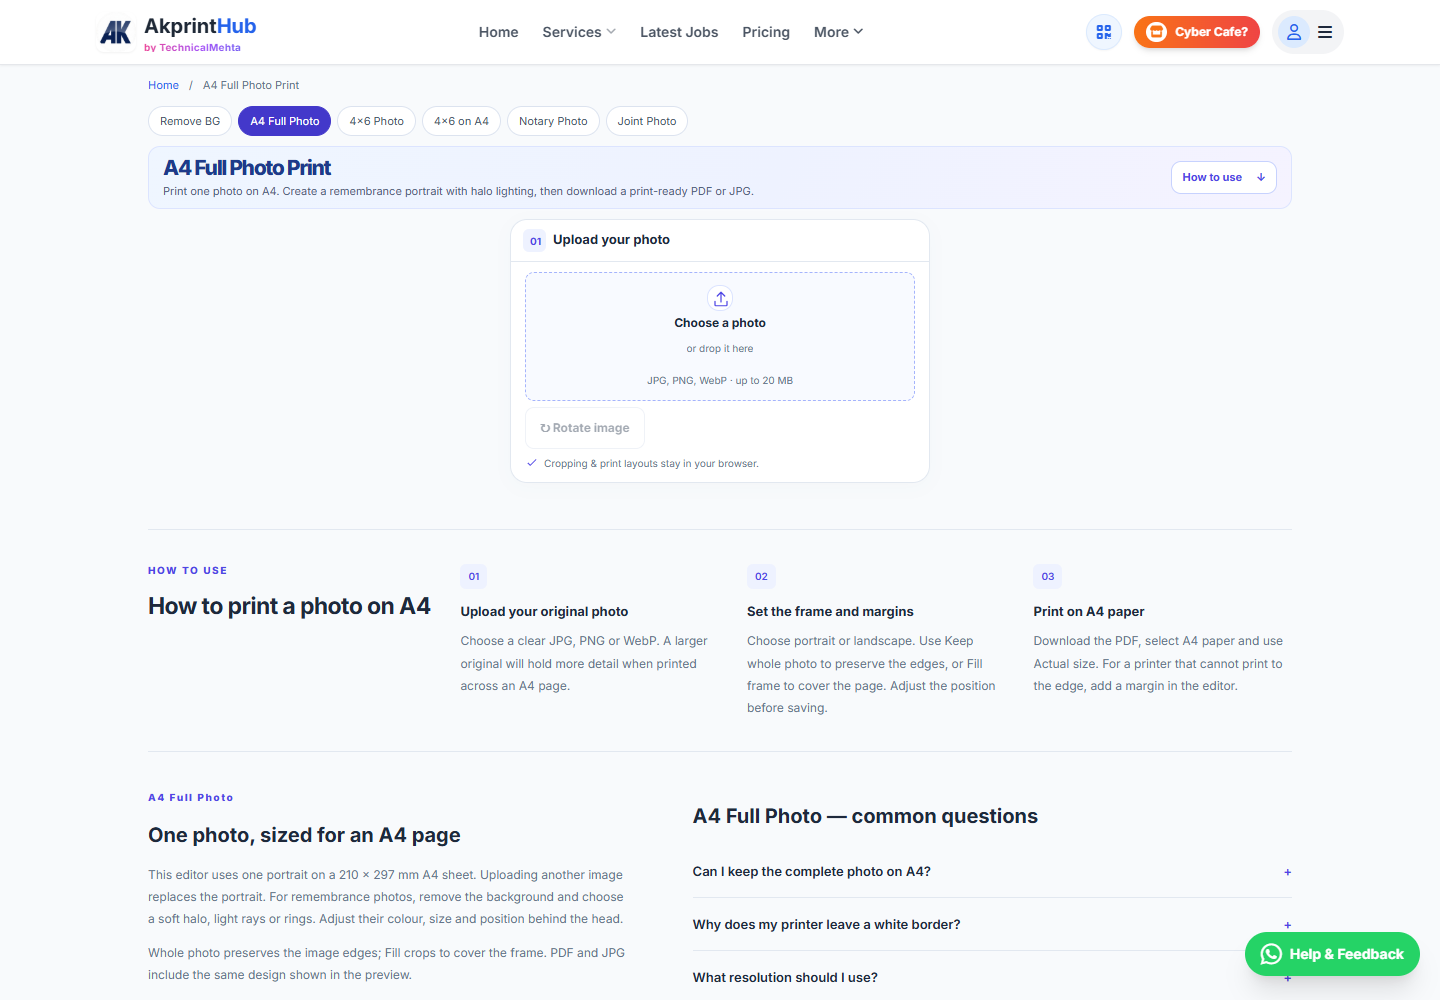 A4 Photo PrintSteps, settings aur screenshots →
 4×6 Photo PrintSteps, settings aur screenshots →
 4×6 Photos on A4Steps, settings aur screenshots →
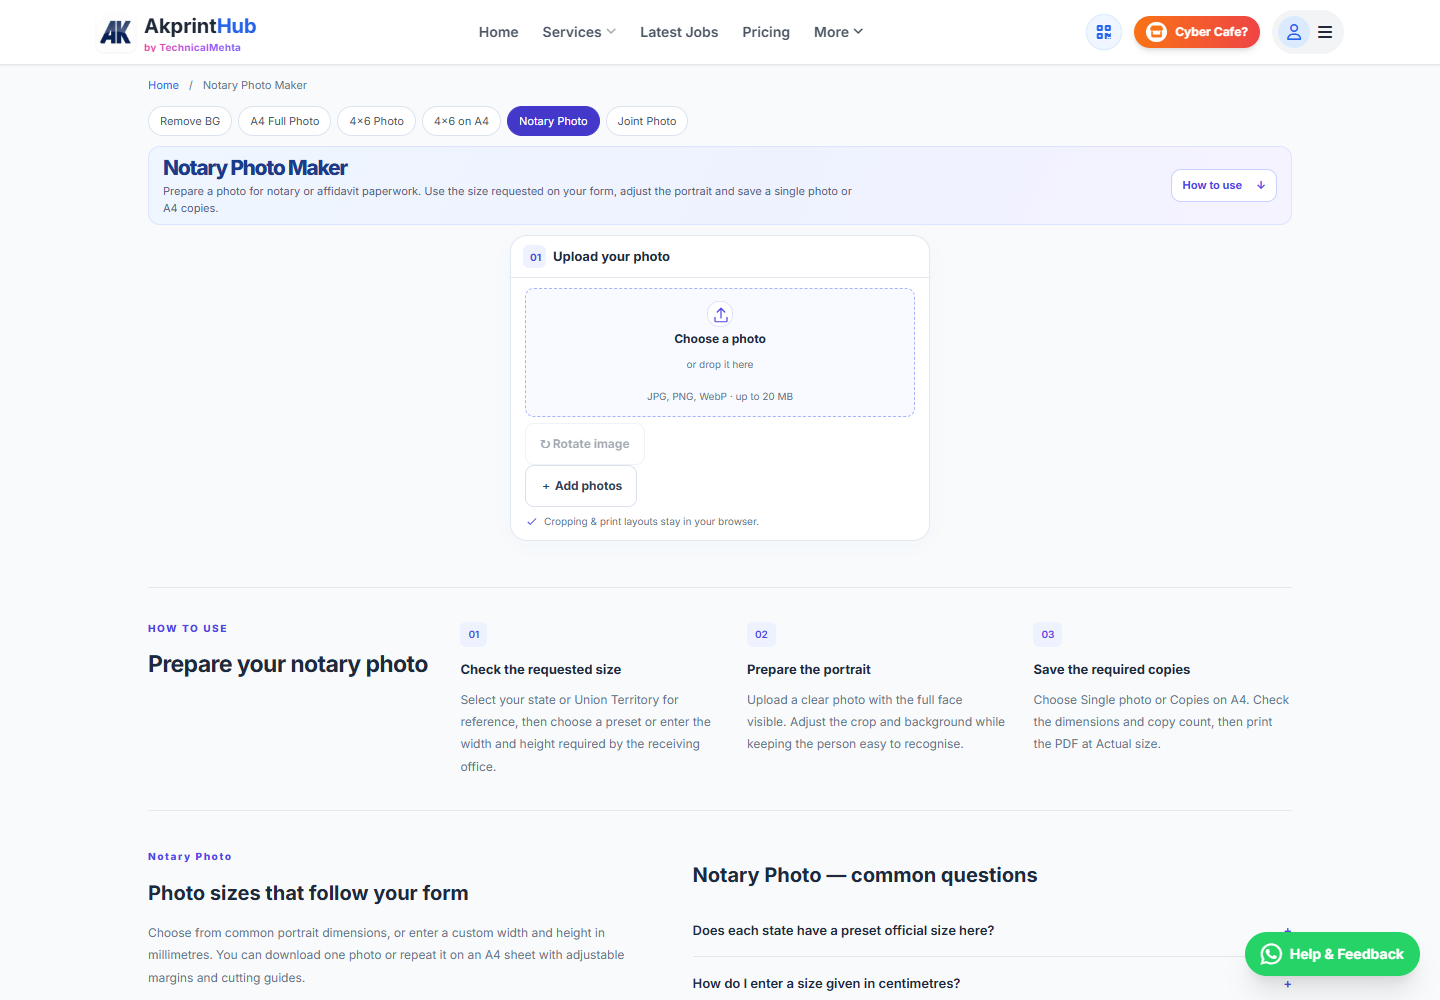 Notary Photo MakerSteps, settings aur screenshots →
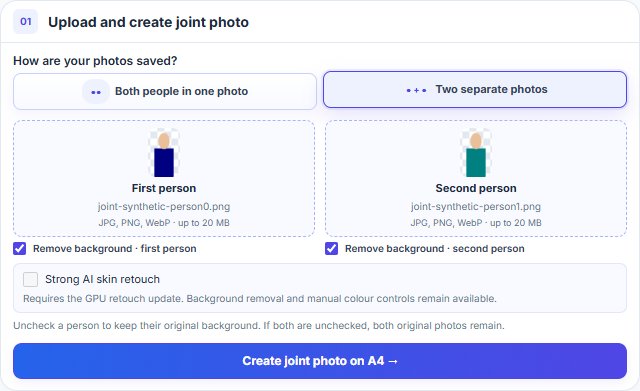 Joint Photo MakerSteps, settings aur screenshots →
Tool ke screenshots
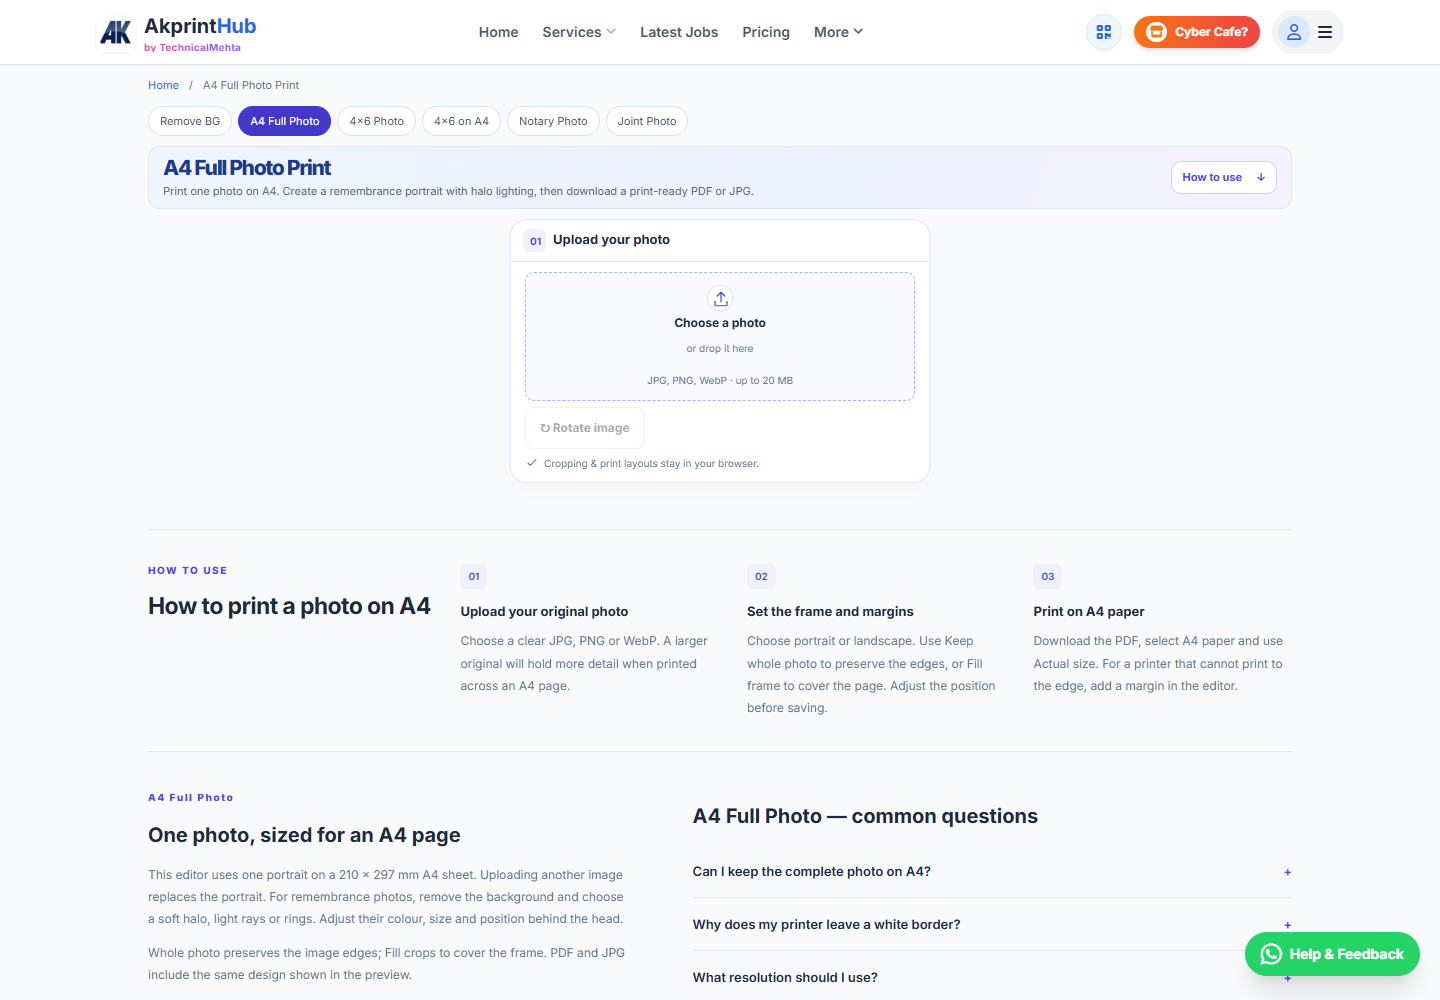
Actual tool screens aur available demo workflows neeche diye hain. Screenshot par click karke full size mein dekhein. Har caption mein screen ka context diya gaya hai; current interface ya plan details badal sakti hain.
Before you start
Choose the destination paper first. A correct digital canvas can still print incorrectly when the printer uses a different paper size or automatic scaling.
- Know whether the paper is A4, 4×6 inch, 5×7 inch or another size.
- Use the original photo with enough resolution for the planned print.
- Check whether your printer supports borderless output.
- Keep one test sheet ready before printing many copies.
How to use this tool
Open the matching tool
Select the tool for your real paper and output. Do not simulate a 4×6 print by stretching it on an A4 page.
Choose orientation
Set portrait or landscape, then decide whether to keep the whole image or fill the frame by cropping edges.
Adjust margin and copies
Set each photo copy count within the paper limit: up to nine on A4 or four on 4×6 paper. Check the preview, margins and gaps before exporting.
Download PDF or JPG
Use PDF when you want page dimensions embedded. Use JPG for a photo-printing application that already controls paper size.
Print one test
Select the matching paper, use Actual size and turn off headers, footers and Fit to page. Measure the first print before continuing.
Screen preview aur physical print mein farq kyun aata hai?
Screen par photo ka size pixels se dikhai deta hai, lekin print mein paper dimension, printer margin aur scaling decide karte hain. A4, 4×6 aur custom photo ke liye tool aur printer dialog mein same paper size rakhna zaroori hai.
Pehli sheet ko 100% ya Actual size par test print karke ruler se measure karein. Agar Fit to page on hai to correct PDF bhi chhota ya bada print ho sakta hai; batch print se pehle isi setting ko fix karein.
- Paper size tool aur printer mein same
- Fit to page off
- One-sheet measurement before batch
Check before download or print
- Paper size in the tool matches paper loaded in the printer.
- Faces are not cut by Fill frame cropping.
- Margins are inside the printer’s printable area.
- Printer scaling is 100% / Actual size.
Common mistakes
- Calling 10×15 cm and 4×6 inch exactly the same size.
- Expecting edge-to-edge print from a printer without borderless support.
- Adding large margins and still expecting the maximum copy count.
- Printing the full batch before measuring one test copy.
Questions users usually ask
How many photos can I arrange on A4?
The current 4×6 on A4 tool arranges up to nine smaller photos in a 3×3 grid. These are not full 4×6 inch prints; each frame depends on the margins and gaps.
Why is there a white border around my A4 photo?
Most printers cannot print to the physical edge. Use a supported borderless mode or keep a safe margin.
Should I download PDF or JPG?
PDF is safer for fixed paper dimensions. JPG is useful when your photo-printing software already handles an exact 4×6 canvas.
Can I combine two separate portraits into one joint photo?
Yes. The Joint Photo Maker can remove each background and place both people on one shared canvas, but you should check whether the receiving office accepts a composed image.